
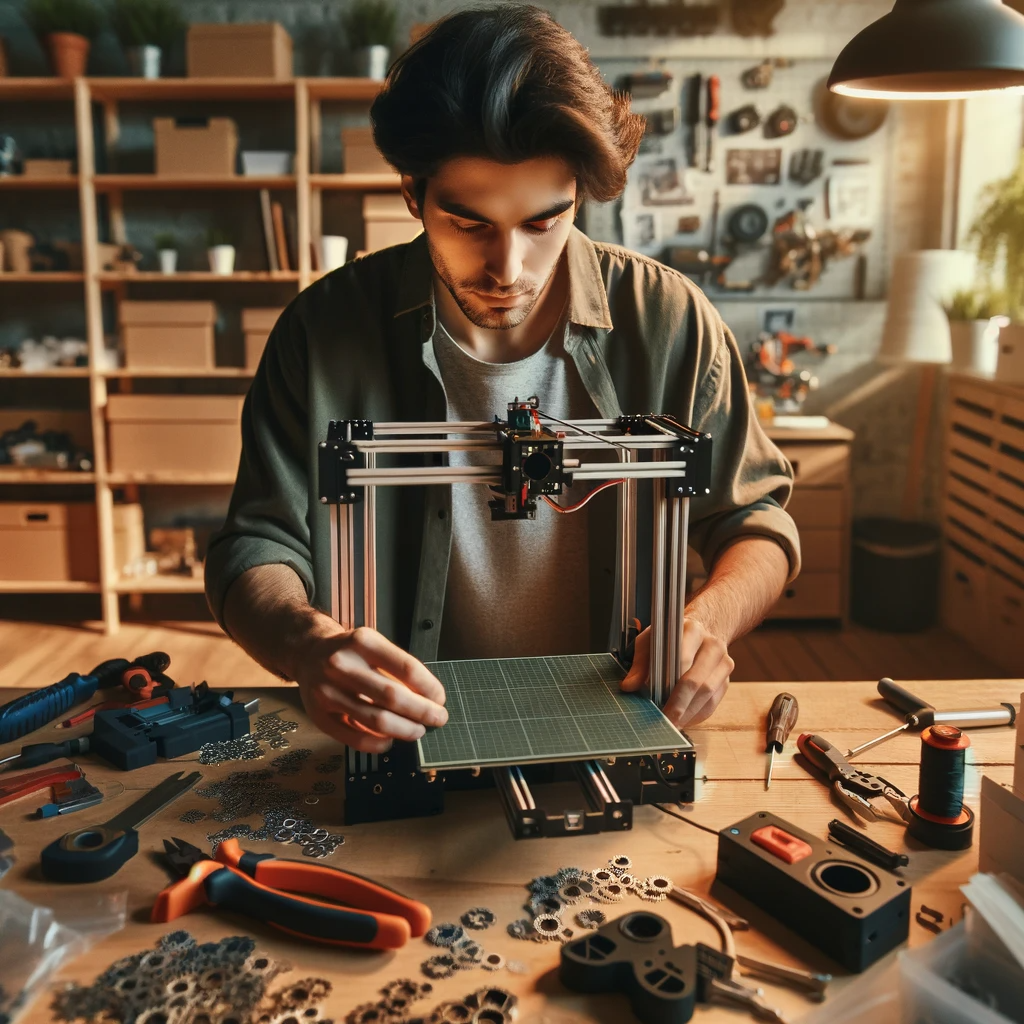
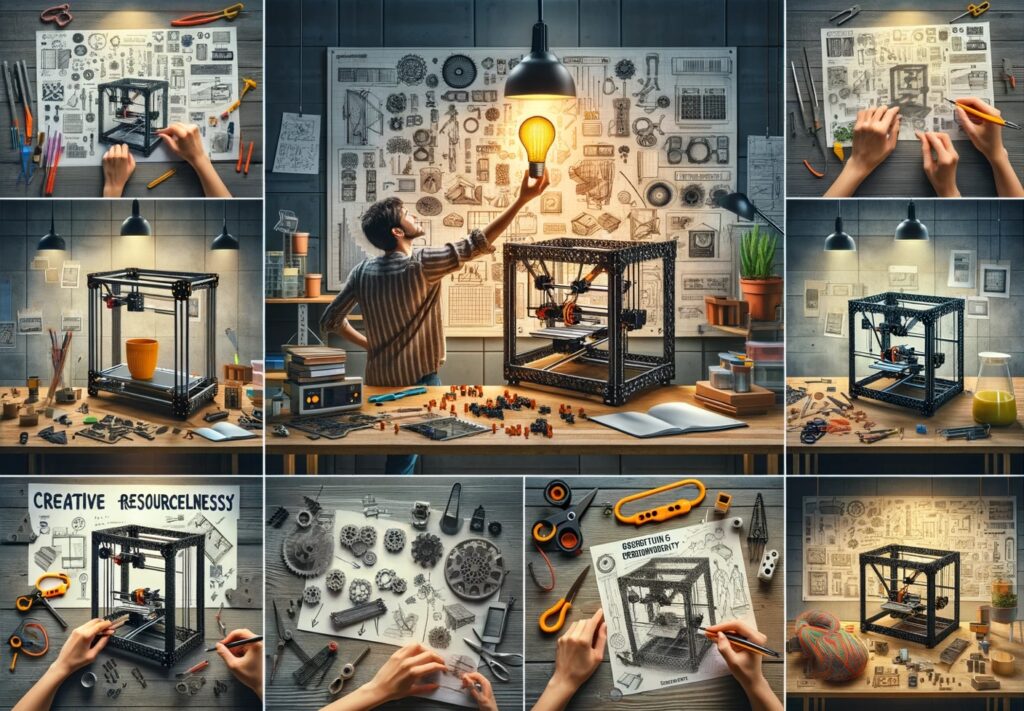
DIY 3D printers, or do-it-yourself printers, are gaining popularity among enthusiasts and creative engineers. The DIY approach to 3D printer assembly provides a unique opportunity to create a customized device, tailored to individual needs.
Introduction
In the context of this article, DIY 3D printers are represented by kits designed for self-assembly. These kits contain everything needed to create a functional device, from the frame to the electronics. DIY 3D printers are not only cost-effective but also foster creative thinking and a deeper understanding of technology.
DIY 3D Printers: Capabilities and Kits
DIY 3D printers offer enthusiasts the chance to turn their ideas into reality. Kits include mechanical parts, electronics, motors, and sensors, with some providing customization options like print size and accuracy.
Advantages and Disadvantages of the DIY Approach
The advantages of DIY 3D printers, such as cost-effectiveness and customization, come with some disadvantages like assembly time and calibration challenges.
Choices: Kits and Assemblers
Users choosing a DIY 3D printer face two options: kits or assemblers. Kits strike a balance between uniqueness and convenience, while assemblers start from scratch. The choice depends on experience, desired control level, and effort willingness.
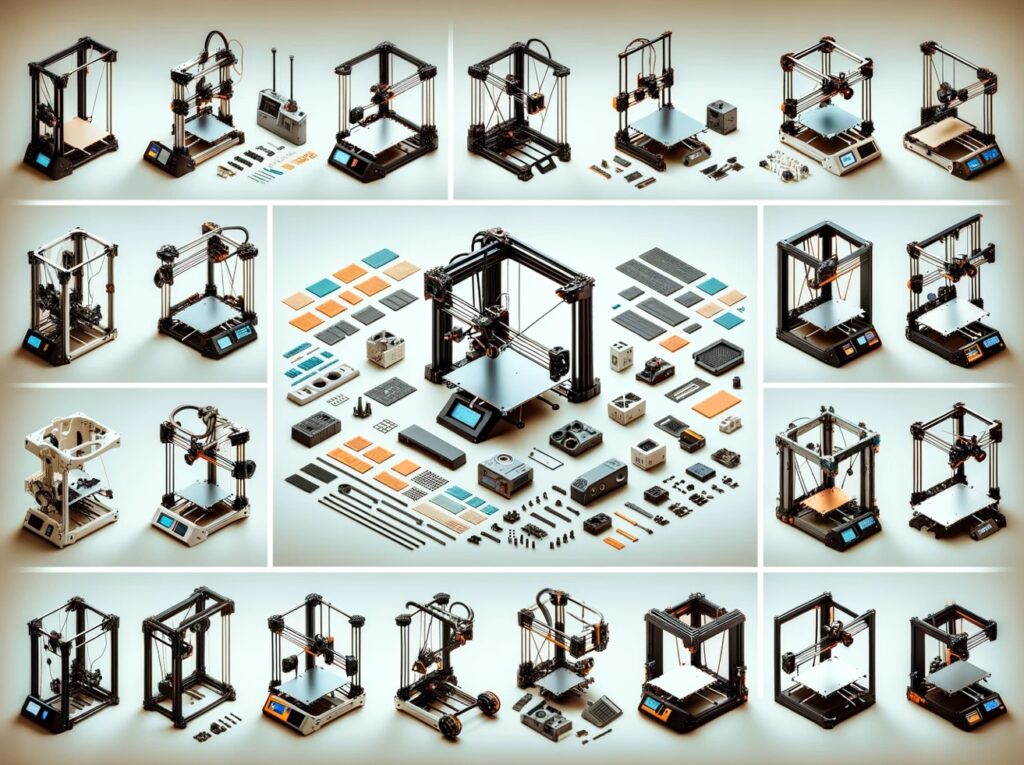
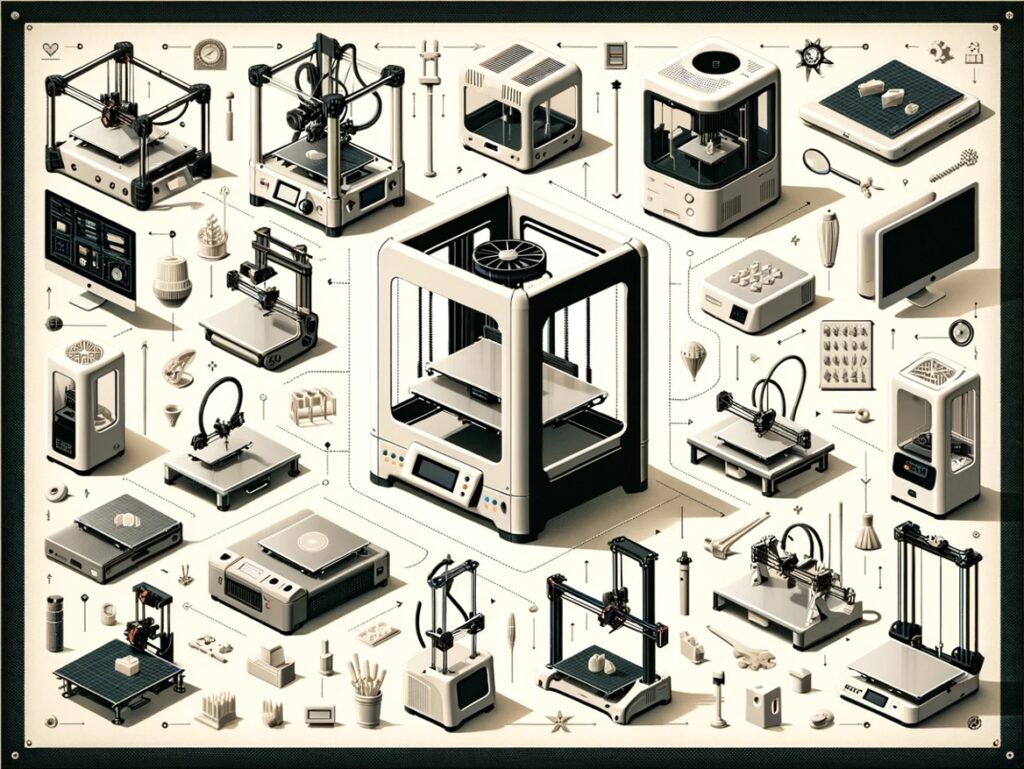
DIY 3D Printer Selection and Comparison
Review of DIY Kits
Category 1: Budget Solutions
- Creality Ender 3: Compact and excellent value.
- Anet A8: Ideal for beginners, with ample upgrade options.
Category 2: Advanced Options
- Prusa i3 MK3S: Reliable and high-precision.
- Voron V0: Attractive for high-precision printing and innovative solutions.
Category 3: High Precision Models
- Ultimaker 3: Outstanding precision with dual-head extrusion.
- Raise3D Pro2: Ideal for serious projects with a large print area.
Comparison in Terms of Price, Quality, and Features
Budget solutions provide a great introduction, while advanced and high-precision models offer more functionality.
User Feedback Consideration
User feedback is valuable for stability, print quality, and manufacturer support. It guides future users in making informed decisions.
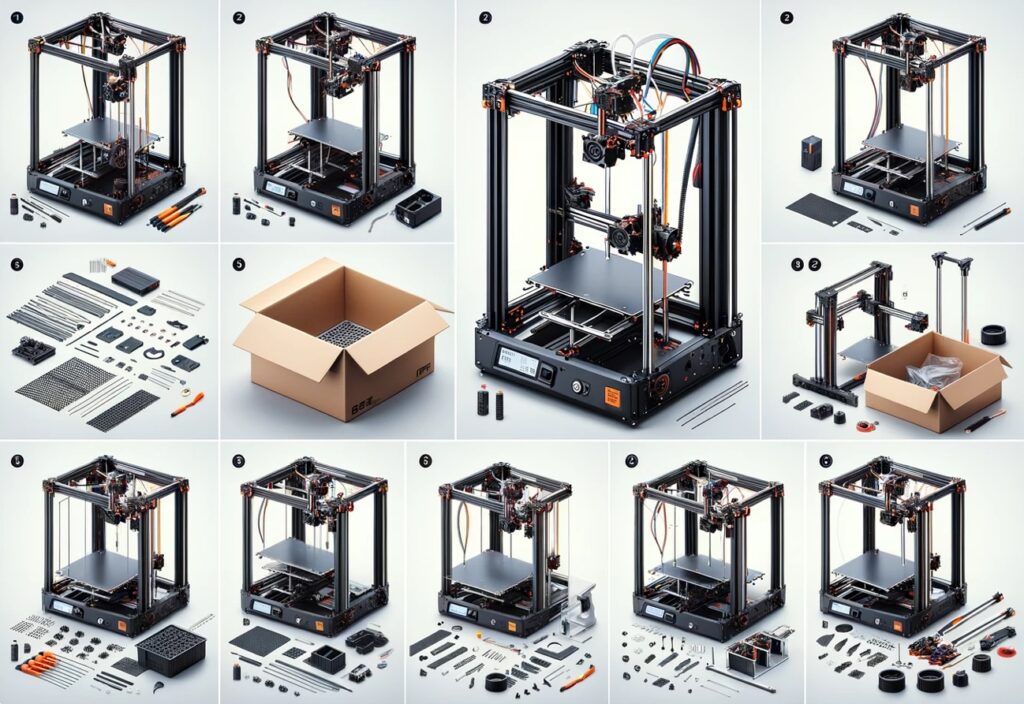
DIY 3D Printer Assembly Instructions
Illustrating the DIY 3D printer assembly process using the Creality Ender 3 due to its popularity, build quality, and user-friendly interface.
Detailed Step-by-Step Assembly Process
- Preparation: Unpack and check components.
- Frame Assembly: Follow instructions for frame assembly.
- Motor and Extruder Installation: Connect motors and attach the extruder.
- Electronics Installation: Connect wires and install the LCD screen.
- Calibration and Testing: Calibrate the table and test movements.
Recommendations for Troubleshooting
Refer to manufacturer support and online communities for troubleshooting. Regularly test and update firmware for improved performance.
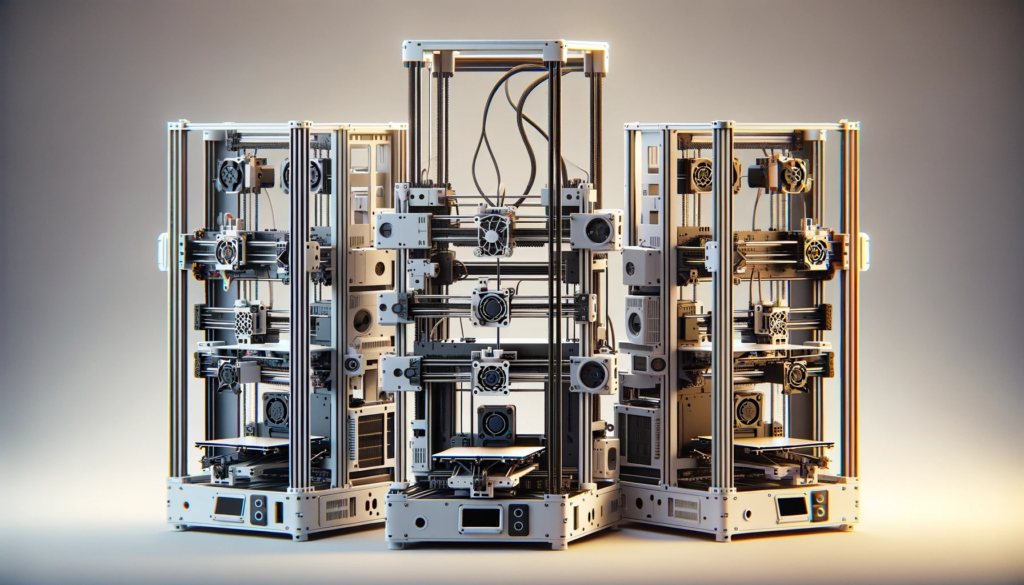
Assemblers of 3D Printers “Creative Resourcefulness”
Among DIY 3D printing, there is a unique subcategory – assembling printers through “creative resourcefulness”. This informal term reflects a creative approach to building devices from available materials. Unlike standard kits where all the necessary parts are provided, assemblers in this category go for experimentation using what they have on hand.
Searching and reviewing YouTube videos
The YouTube platform is a space for those who decide to assemble a 3D printer with “creative resourcefulness”. Video tutorials and reviews allow you to see how people assemble functional devices using a variety of materials, tools, and even scraps.
A critical look at the quality and results of such assemblies
While creative and cost-effective, there are risks involved in assembling a 3D printer with “creative resourcefulness.” Print quality and stability can vary greatly. Non-standard materials and parts can lead to unintended consequences such as improper calibration, noise, and even damage to the device.
Potential Risks and Limitations
Building a 3D printer with “creative resourcefulness” carries a number of potential risks and limitations. Lack of guaranteed compatibility and poor control can lead to unstable device operation. Additionally, the use of substandard materials can cause issues with the safety and durability of the printer.
To summarize, while building with “creative resourcefulness” can be an exciting experiment, one should carefully weigh the risks and limitations before embarking on such a project.
Conclusion
DIY 3D printer kits offer a range of options, from budget-friendly to high-precision models. Budget solutions provide affordability, while advanced models offer enhanced functionality.
Recommendations for DIY Builders
Choosing a kit that matches experience and needs is crucial. Attention to assembly instructions and community resources aids in overcoming difficulties.
Final Thoughts on DIY Approach
The DIY approach to 3D printer assembly allows for creativity and cost savings. As technology advances, DIY 3D printing may become more accessible, stimulating community creativity.
- Comparison of 3D Printing Technologies: FDM, SLA, SLS, and More
- Top 3D Printing Tips: How to Achieve Perfect Results
- 3D Scanning for Small Objects
- Best 3D Printers $5000 and Above: Top Models for Professionals
- Best 3D Printer: $2,000-$5,000
Have experience in writing for big hi-tech magazines. I love new technologies and I always want to be on the cutting edge. That’s why I write about them – to share my experience with other people who are interested in this stuff like me.